Supabase Access Disruptions in India (2026 Guide)
Developers across India are reporting serious Supabase access disruptions in India. Projects that worked yesterday are suddenly unreachable. Dashboards fail to load. API calls time out. Prod
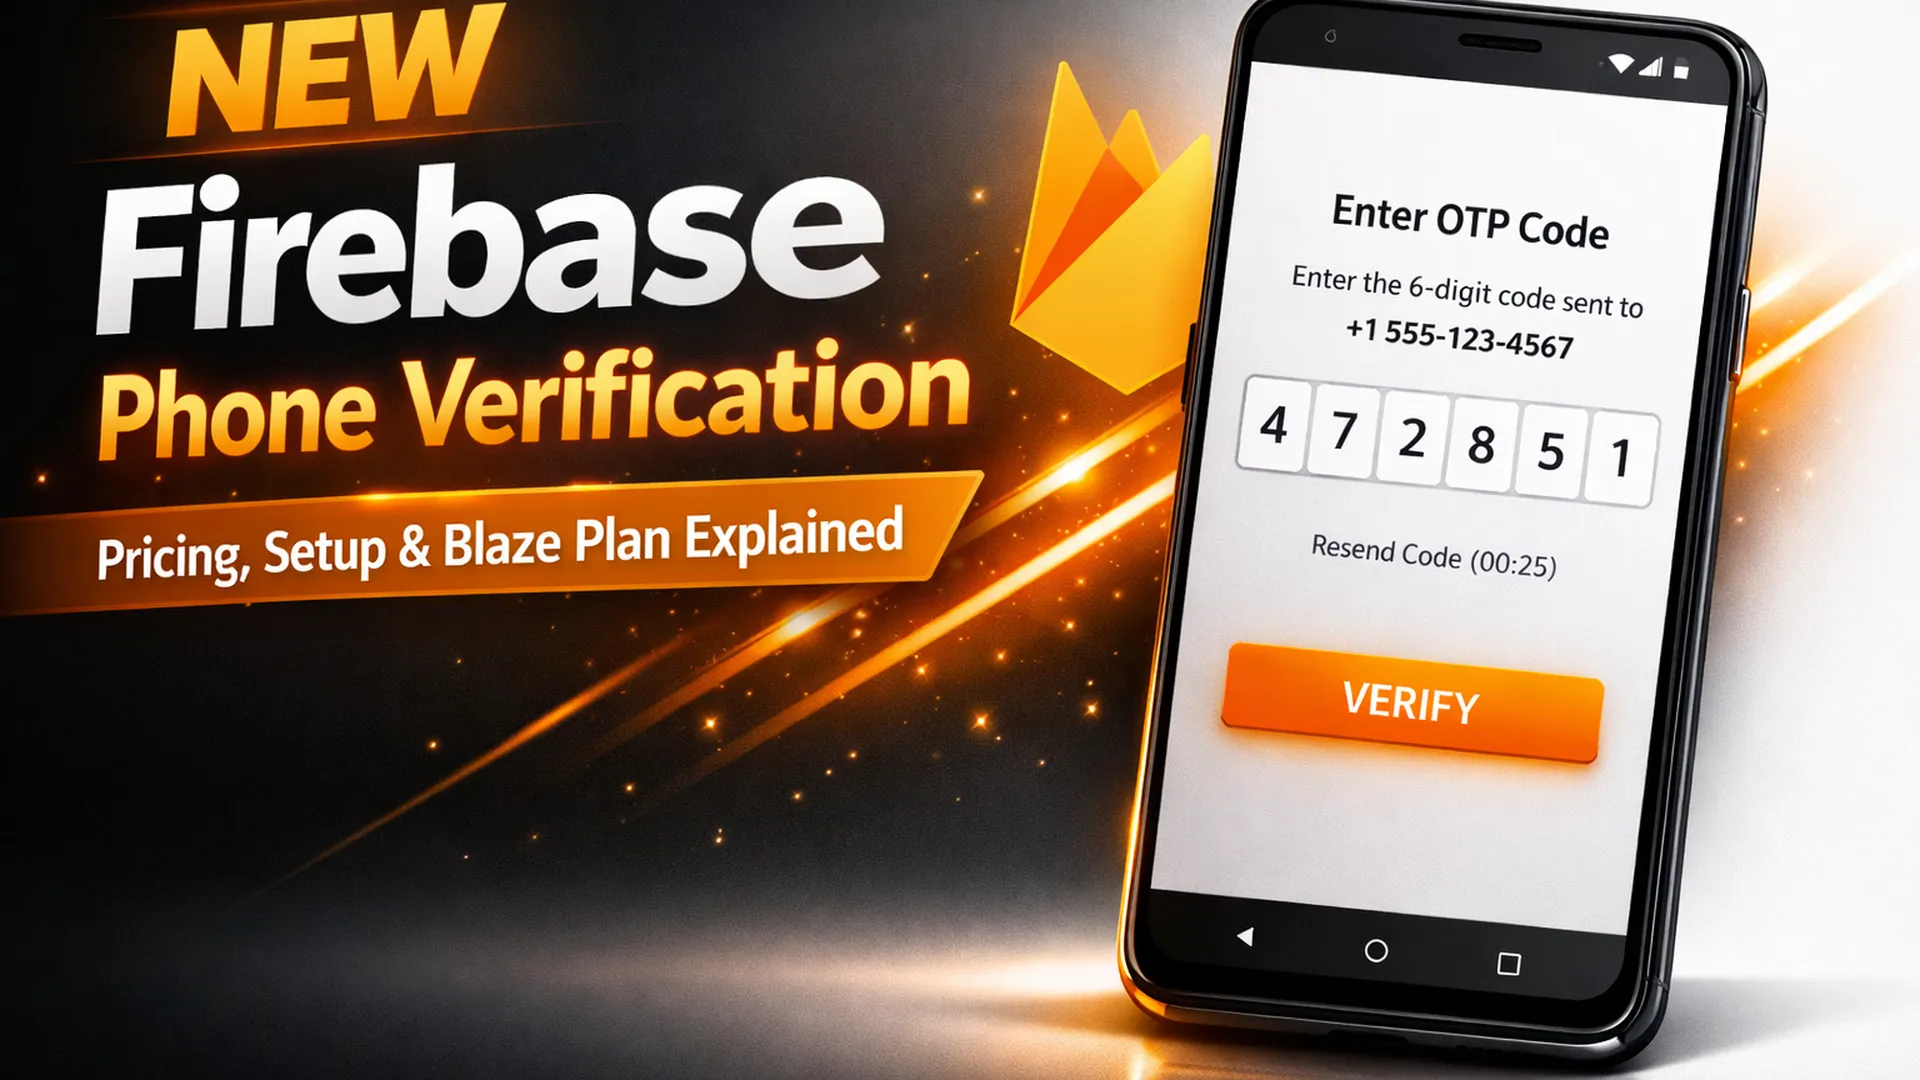
The Complete Guide to Firebase Phone Number Verification (Android, Preview)
Introduction Phone number login is now one of the fastest-growing authentication methods in mobile apps. Users prefer OTP-based login because it is quick, passwordless, and secure. With the
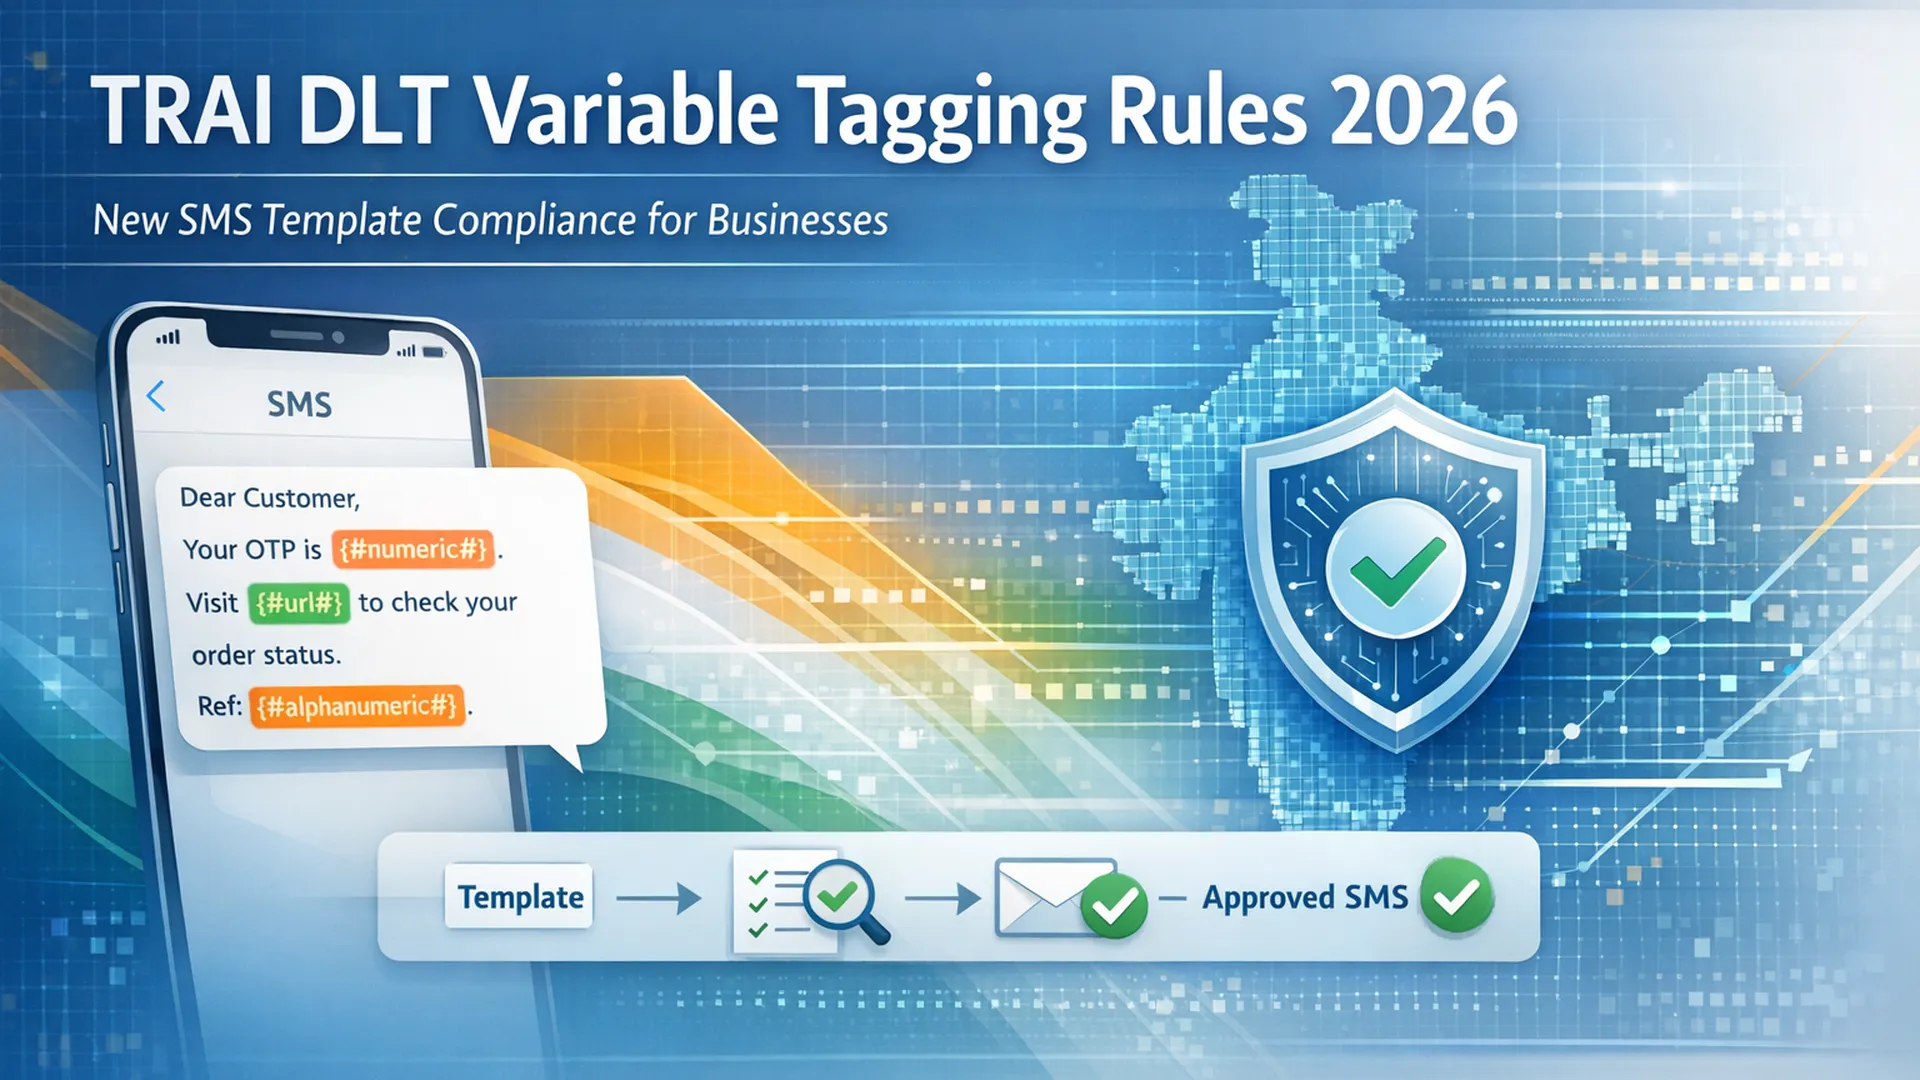
TRAI DLT Variable Tagging Rules 2026: Complete Guide for SMS Template Compliance in India
If your business sends OTPs, order confirmations, payment reminders, or promotional SMS in India, the TRAI DLT variable tagging rules 2026 directly affect you. From 15 January 2026, SMS temp
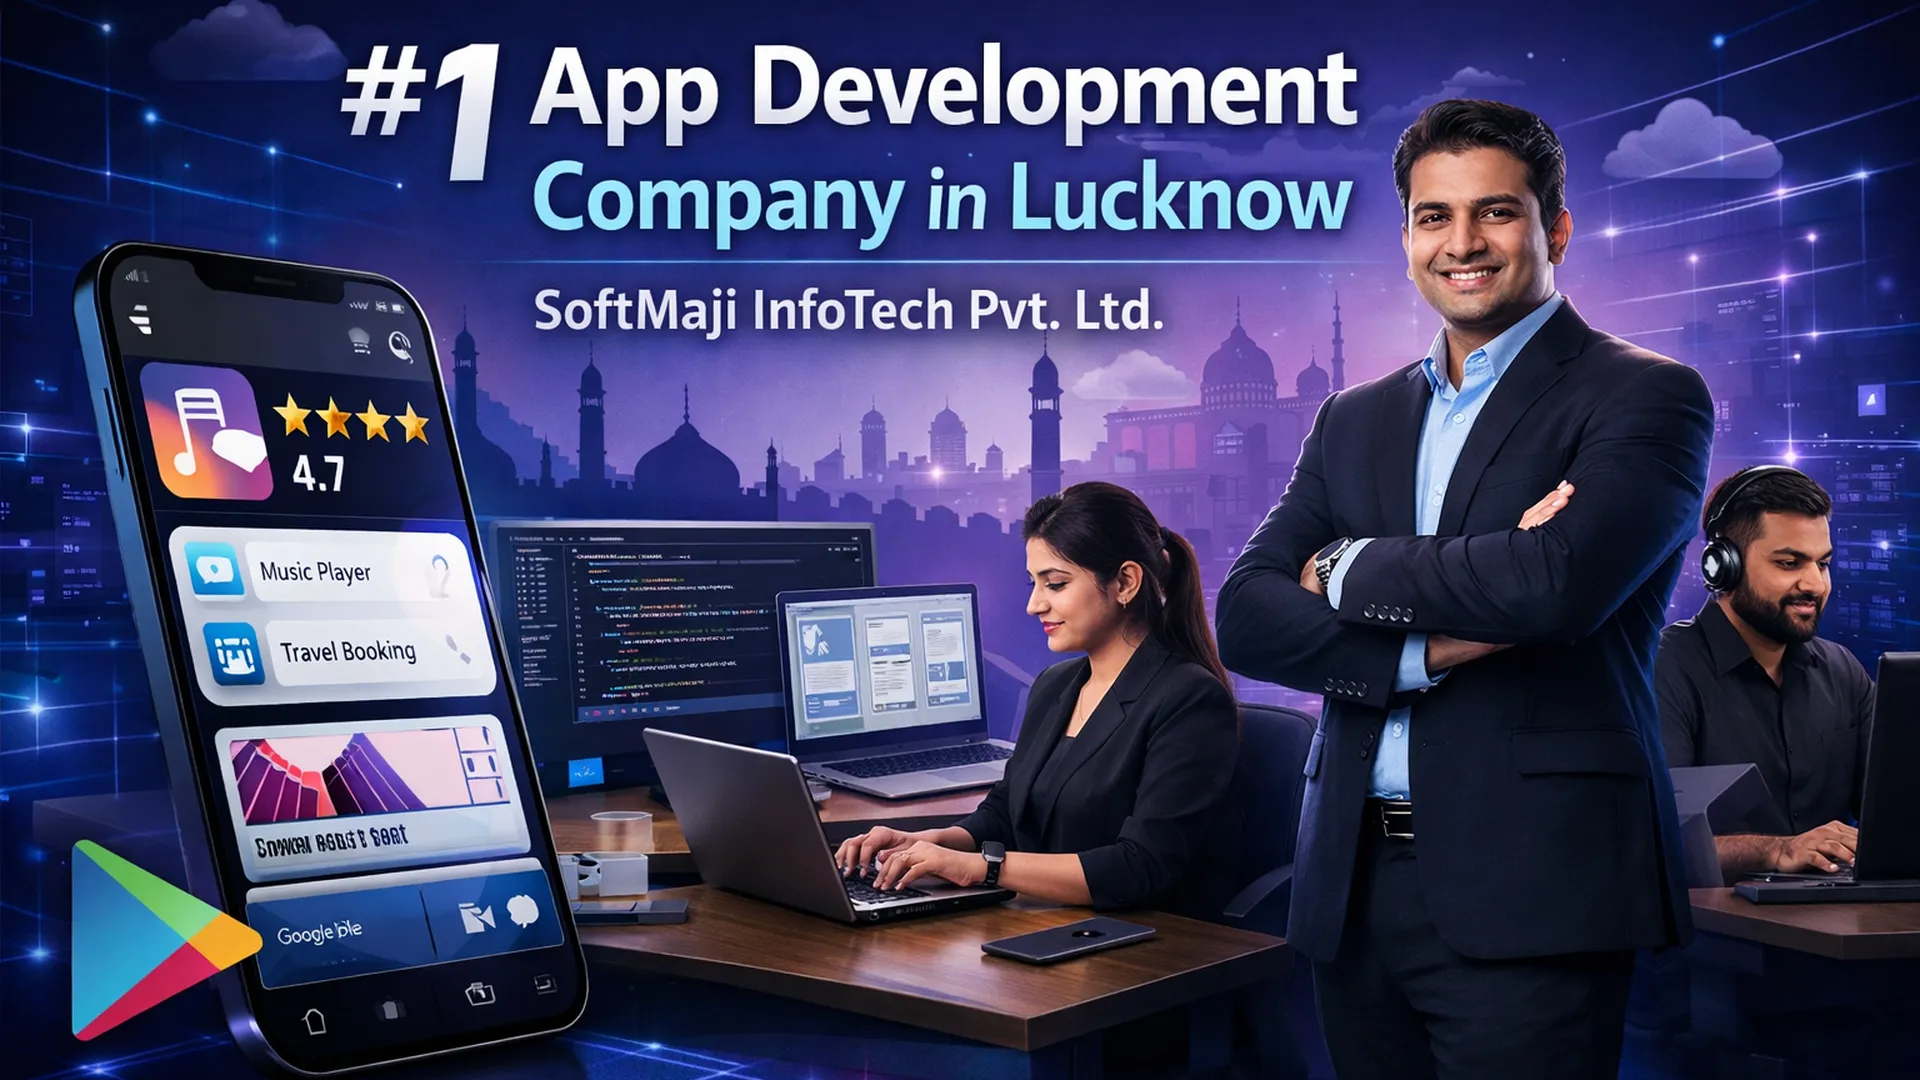
Top App Development Company in Lucknow
Lucknow has rapidly emerged as a growing IT and startup hub in North India. Businesses today are not just looking for an app they are looking for reliable technology partners who can design,

Use of N8 VPS: 10 Ground-Real Advantages Every Developer Should Know
Most developers outgrow shared hosting faster than they expect.Slow builds, limited resources, restricted access, and sudden downtime quickly become blockers. This is where N8 VPS changes th

OpenClaw Self-Hosted AI Assistant on VPS (Beginner Friendly Guide)
Introduction: What Problem Does OpenClaw Solve? Most AI assistants today live on someone else’s server.Your messages, your data, and your usage are stored and controlled by companies you do

India U-19 vs Bangladesh U-19: Full Match Preview, Team Strengths, Key Players & What to Expect
The India U-19 vs Bangladesh U-19 cricket match is more than just a youth-level game. It represents the future of international cricket, where young players showcase their skills, discipline

Apple iPhone 18 Pro Max Leaks & Full Details (2026) – Easy, Honest & In-Depth Guide
The Apple iPhone 18 Pro Max is expected to be one of the most refined smartphones Apple has ever created. Instead of introducing risky design changes, Apple is focusing on areas that truly m

Xiaomi Redmi Note 15 5G: Expected Features, Price & Launch Details
Xiaomi’s Redmi Note series has always been popular. It offers: Strong features Affordable pricing Reliable performance Now, many users are searching for Xiaomi Redmi Note 15 5G. People want

xAI Raises $20 Billion: What Elon Musk’s AI Funding Means for the Tech World
The AI industry just witnessed a major moment. Elon Musk’s AI company xAI has reportedly raised $20 billion in funding, pushing its valuation close to $230 billion. This is not a small updat