WordPress is a free, open-source CMS used by several businesses and individuals. You can install WordPress using Softaculous installer via your cPanel.
Steps to install WordPress Using cPanel Softaculous Installer
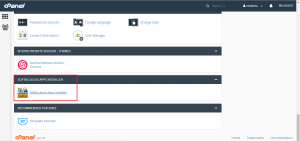
1. Login to your cPanel.
2. Navigate below and click on Softaculous App Installer.
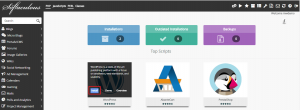
3.On the next page, go to WordPress and click on Install.
4. A new window with several options will appear displaying the overview, features, screenshots, demo, ratings, etc. about WordPress. Simply click on Install tab. You will need to fill up the options as below:
Software Setup
- Choose Protocol: You need to choose between HTTP and HTTPS depending on whether your website contains an SSL certificate or not.
- Choose Domain: Select the domain on which you want to install WordPress.
- In Directory: You can specify the root folder for WordPress installation here. By default this field is blank, and it enables installation of WordPress on com directly. If you want to install WordPress to a subfolder, like yourdomain.com/blog simply type ‘blog’ in this field.
Site Settings: You need to enter your site name and site description in this field.
Admin Account: You need to enter the admin username, password and email id here.
Choose Language: Choose the language required.
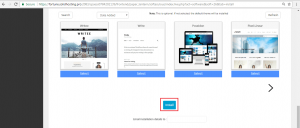
Select Theme: You can select your favorite theme for website or blog.
Ralated: How To Backup WordPress Using Softaculous?
5. After you have completed adding the details, click on Install.
6. You will get a message about ‘Checking the submitted data’ which means Softaculous checks the submitted data and installs the file to your server for WordPress.
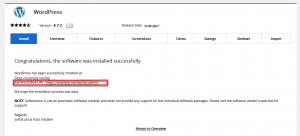
7. After the installation is successful, a message will be displayed. You can click on return to overview and see the appearance of your WordPress website.
Congratulations, you have now installed WordPress using Softaculous via cPanel!


