Why do you need a WordPress staging site?
New versions of WordPress themes, plugins and cores get released very frequently. Updating them every now and then cannot be a feasible task, and on a busy production website updating the plugins may not be a compatible option. Thus, it is always better to test them before publishing. The Softaculous installer in cPanel enables you to create a staging website of your live WordPress website in just a few steps.
Things to remember before staging a website
Remember that all themes and plugins are not compatible with creating a staging site.
Before everything else, we need to create a subdomain prior to creating a staging website in Softaculous. Let’s take an example: if your primary domain name is demoweb.com then you can create a staging.demoweb.com subdomain to use it as a testing environment. You shall also take a backup of the live website before creating a staging website.
# Steps to staging the website
Here we are going to use mainsite.mileswebdemo.com as our live domain and staging.mileswebdemo.com as a copy of the live domain or the staging website.
Perform the following steps to do so:
1) Check if you have a sub-domain already created. If not, create one.
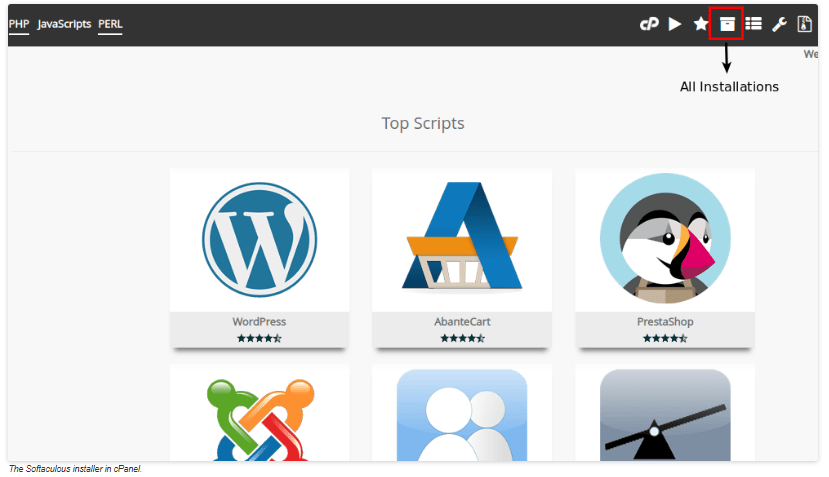
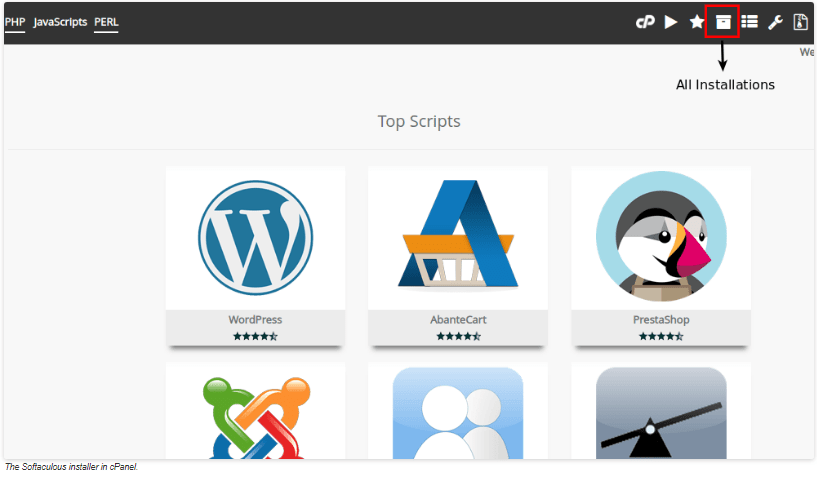
2) Login to your cPanel account and under Software/Services click on “Softaculous App Installer”.
3) Click on the “All Installations” icon present at the top of the right side corner. It will display all the scripts installed using Softaculous.
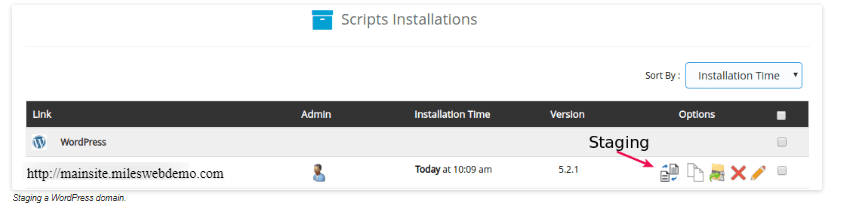
4) From the list, choose the WordPress installation that needs a staging site. Now click on the “Create Staging” button for the selected installation.
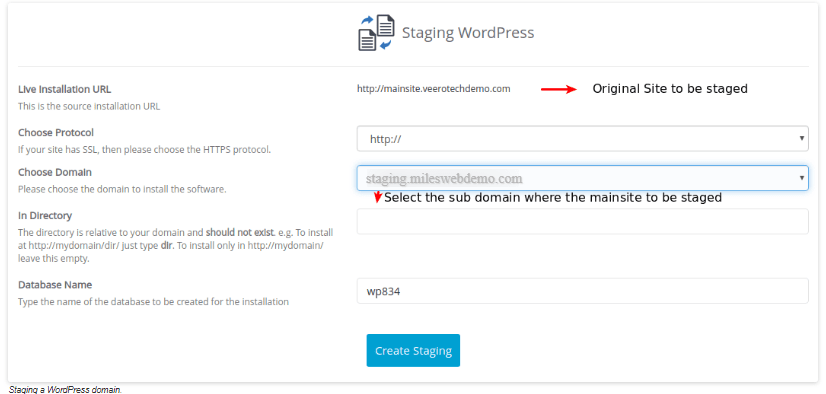
5) The “Create Staging” page gets displayed that contains live installation details and a form to enter the staging domain data such as Choose Protocol, Choose Domain (mention here the sub-domain that you have created earlier), In Directory (you can keep it blank) and the Database Name.
6) Click on the “Create Staging” button. Wait for a few minutes. Once it is ready, you can see a message like an image below. Notice the same credentials of the live website on the staging website also.
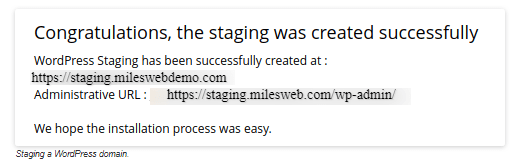
Now, if you browse the staging URL, you will see a website similar to the live website. You can also use the staging website to test new updates, develop a newer version or make any other changes to your live website.
# Making the staged website live
Perform the following steps to push the staged website to the live website domain :
1) Login to your cPanel account. Click on the “Softaculous App Installer” button present under Software/Service section.
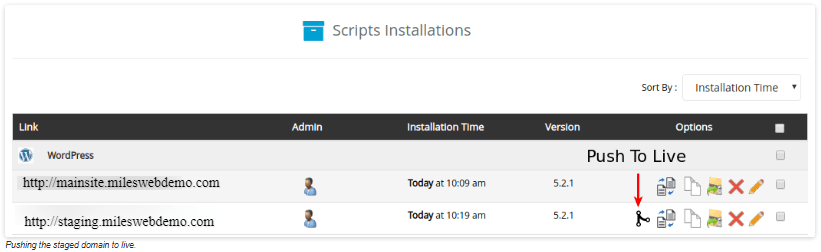
2) On the right side of the top corner, click on “All Installations” that shows all scripts installed through Softaculous.
3) Now click on the “Push to Live” icon present near the staging website.
4) On the “Push to Live,” you will get two options Default and Custom.
(i) Default Push – It is selected by default. This option replaces all the files of your live installation with the files on the staging installation. Also, the database that is used by a live database gets erased and the database from your staging installation gets imported on it. If all the files are proper as per your needs then just click on the “Push to Live” button.
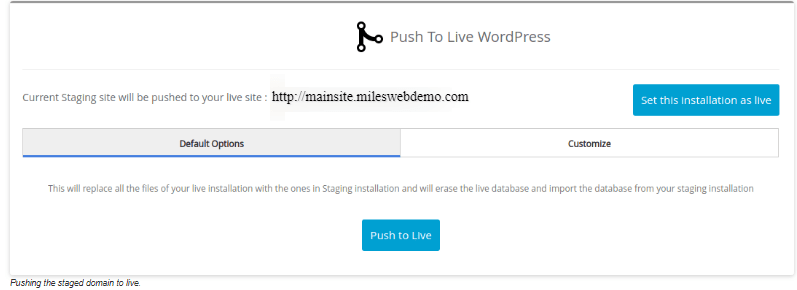
(ii) Custom Push: Click on the Customize tab. In the Customize tab, you can select different options to push the Files, push Full Database changes (including structural changes as well as rows in the tables), only push some of the Database Structure Changes, or just push Data Changes in Tables. This option is useful when you work with a sample database, or if a portion of the live site has been also been updated at the same time as the staging site. Now, click on the “Push to Live” button when everything is ready.
5) The time taken to push depends on the size of the installation of data. Once the changes get successfully pushed to the live site, you will get a Success message as below.
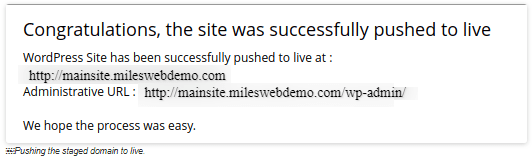
6) Verify on your live domain that all the changes that have been pushed from the staging site are updated.
You need to remove the staging site from Softaculous manually, it won’t get deleted on its own. If you want to test it further or make any changes, you can work on the same and repeat the steps to “Push to Live” when everything’s done.
Also Read :
How To Install WordPress Through Softaculous?
Related items
Developers across India are reporting serious Supabase access disruptions in India. Projec

The India U-19 vs Bangladesh U-19 cricket match is more than just a youth-level game. It r
Are You a Photographer Drowning in Paperwork? Here’s How to Fix It. If you’re a pho