While sending an email, it is generally a good idea to send using SMTP authentication. Authenticating with the server will put a stop to issues such as your message being marked as outgoing spam when being sent. In this tutorial, we will explain to you how to configure SMTP authentication within WordPress. This guide uses the WP SMTP plugin.
Steps to install the WP SMTP plugin:
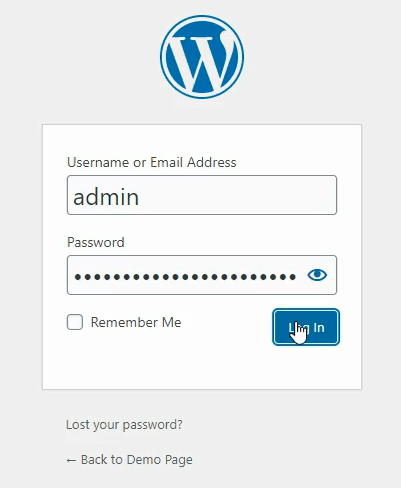
Step 1: Log in to WordPress as admin.
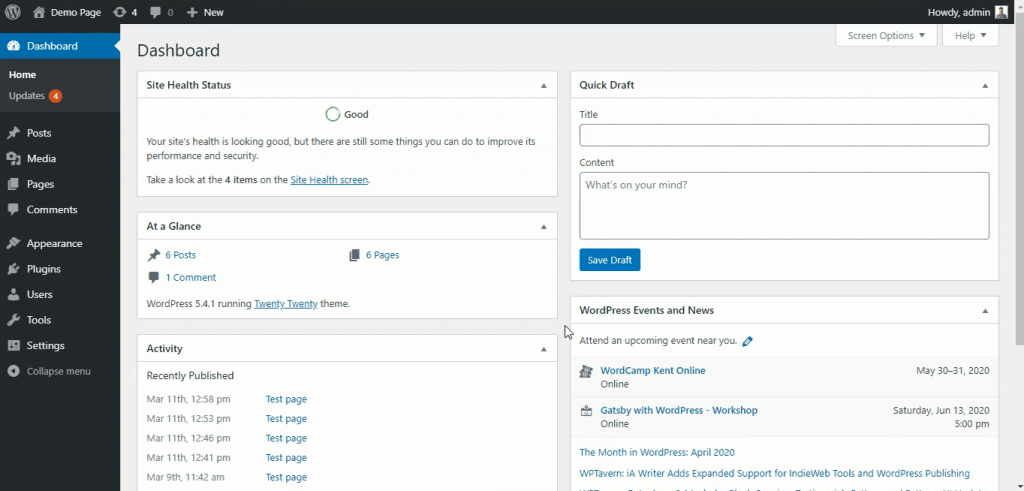
Step 2: You will get the WordPress dashboard.
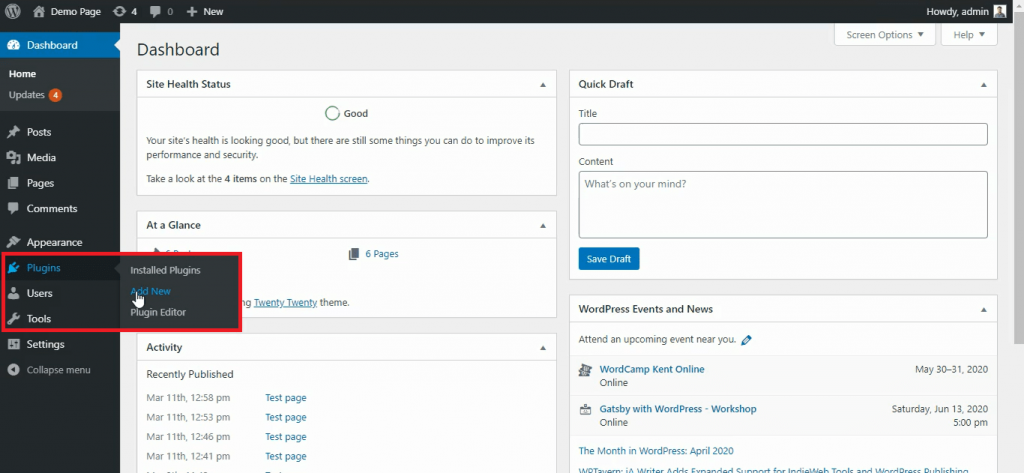
Step 3: On the left side go to plugins and click on Add New option.
Step 4: On the right side you will get a search box in that, search for WP SMTP and hit enter.
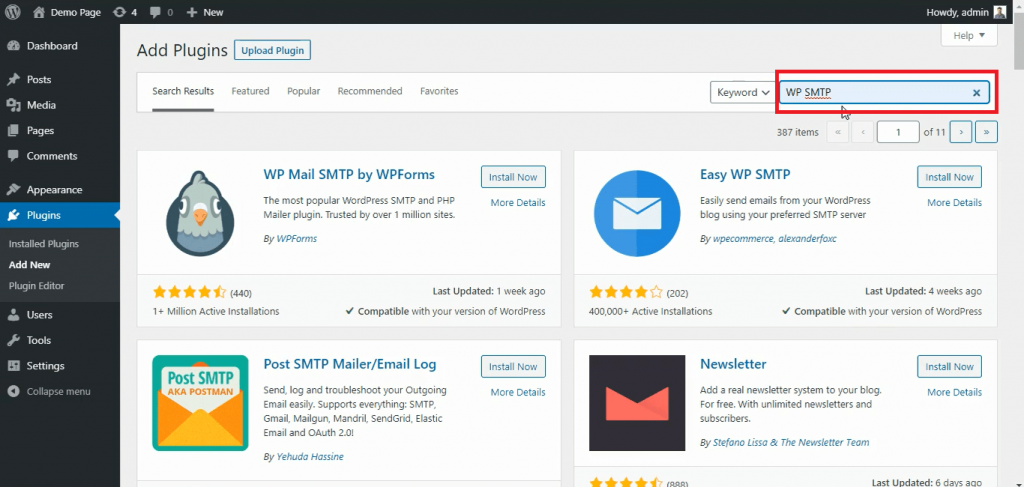
Step 5: Now you can see a list of search results. To install it, click on the Install Now button.
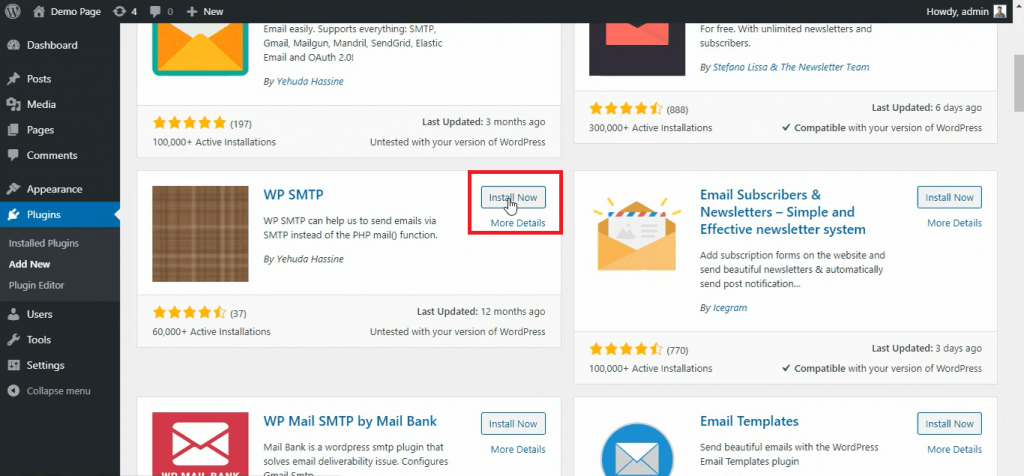
Step 6: After completing the installation make sure to click on Activate Plugin to activate it.
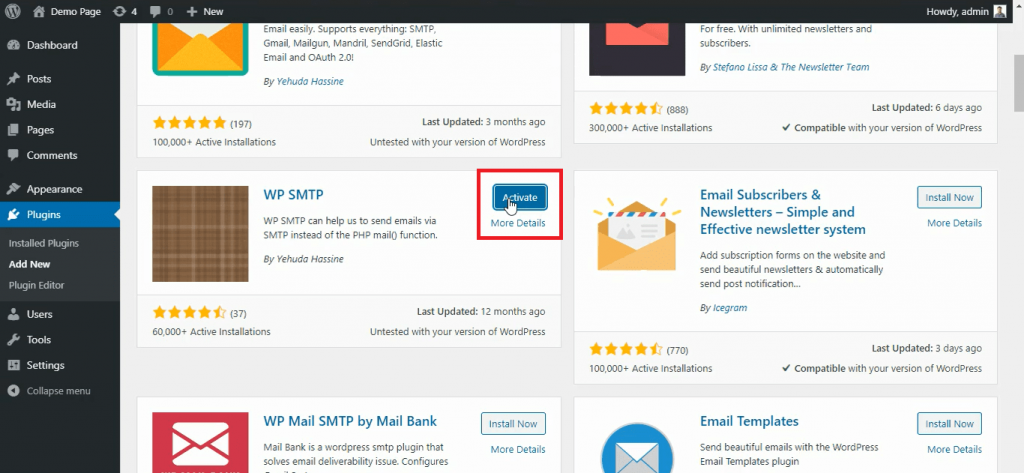
Steps to configure the WP SMTP plugin:
To start with,
Step 1: On the left side of the navigation menu, click on Settings, and select WP SMTP.
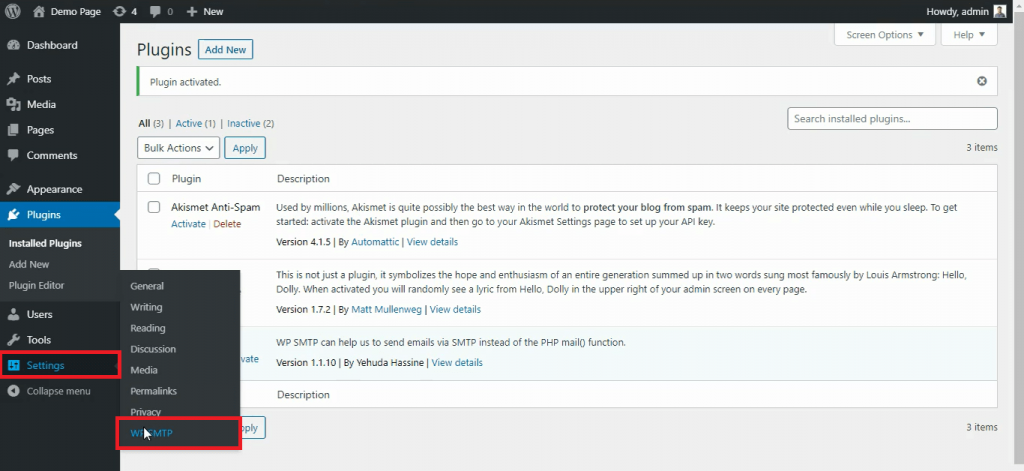
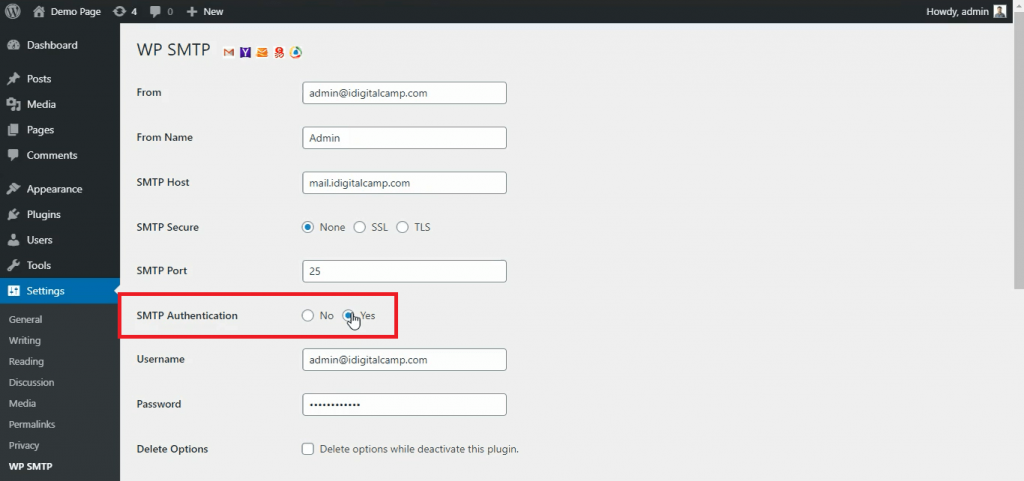
Step 2: On the right side you will get SMTP settings.
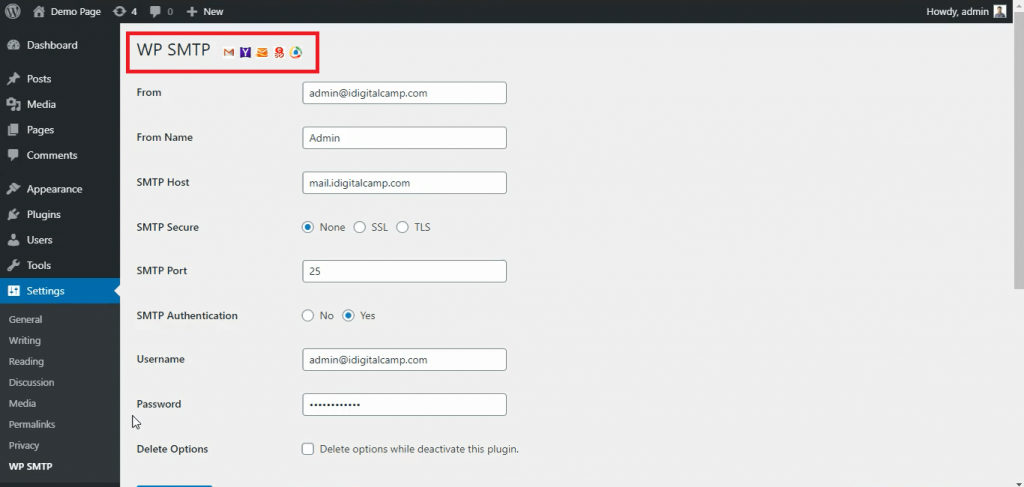
Step 3: In these settings, fill all the information with actual details. Make sure to set SMTP Authentication to Yes.
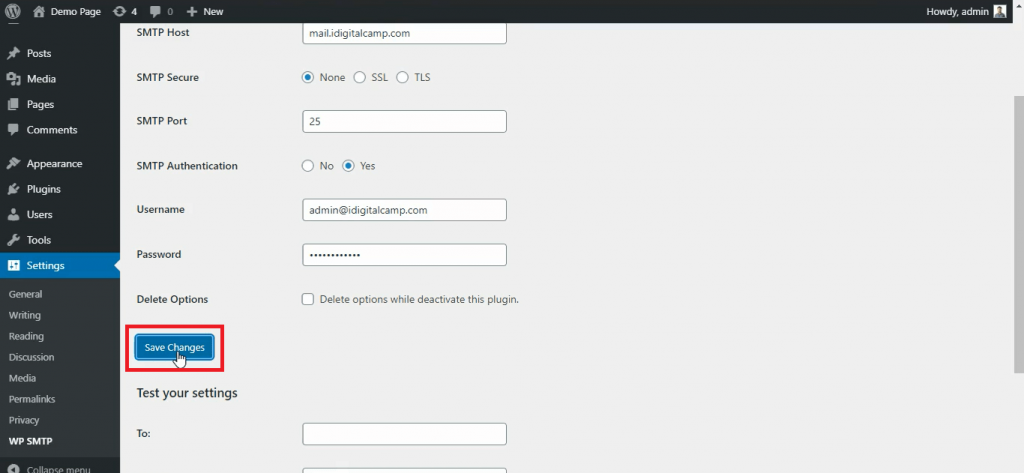
Step 4: After filling the above information, click on the Save Changes button.
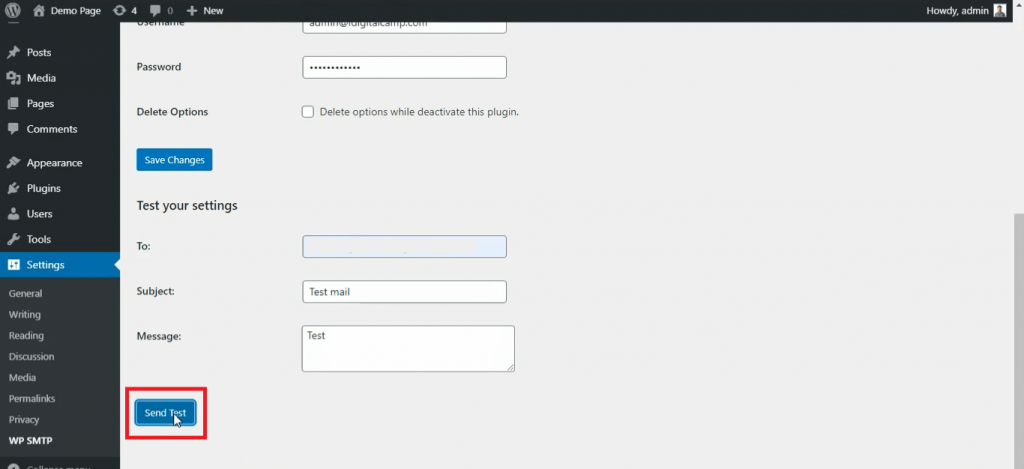
Step 5: If you want to test your settings, you may go to the send a test email section and enter an email address on which you want to send an email, enter a subject, message, and click on Send Test button.
You have now successfully configured WordPress to use SMTP authentication for sending mail on the server.
Related: Send Email From a PHP Script Using SMTP Authentication


