Steps to manage pages in WordPress:
- Log in to WordPress.
- On the left sidebar, go to Pages and click on Add New.
- Enter the Title for the new page.
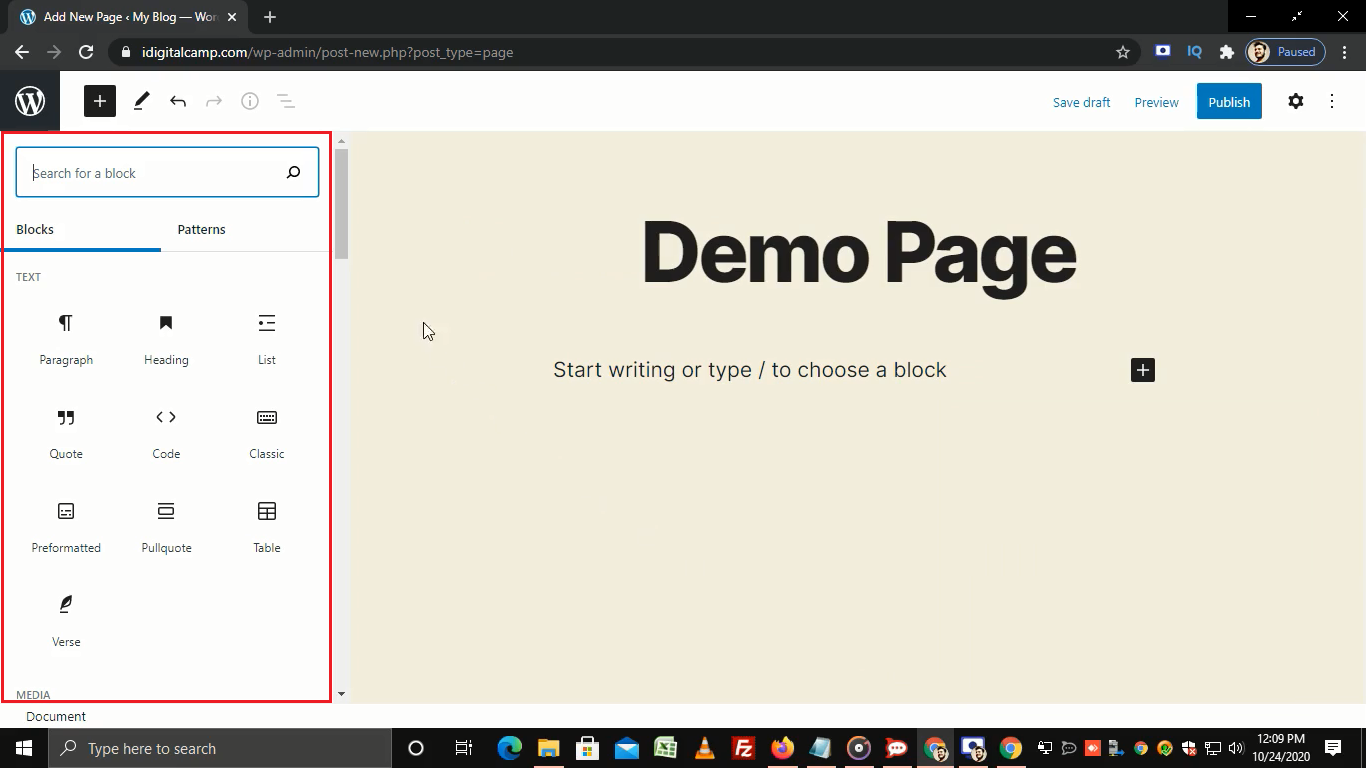
- If you want to customize your page, then click on the Add block option.
- From this section, you can customize the text, media, design, widgets, and embeds.
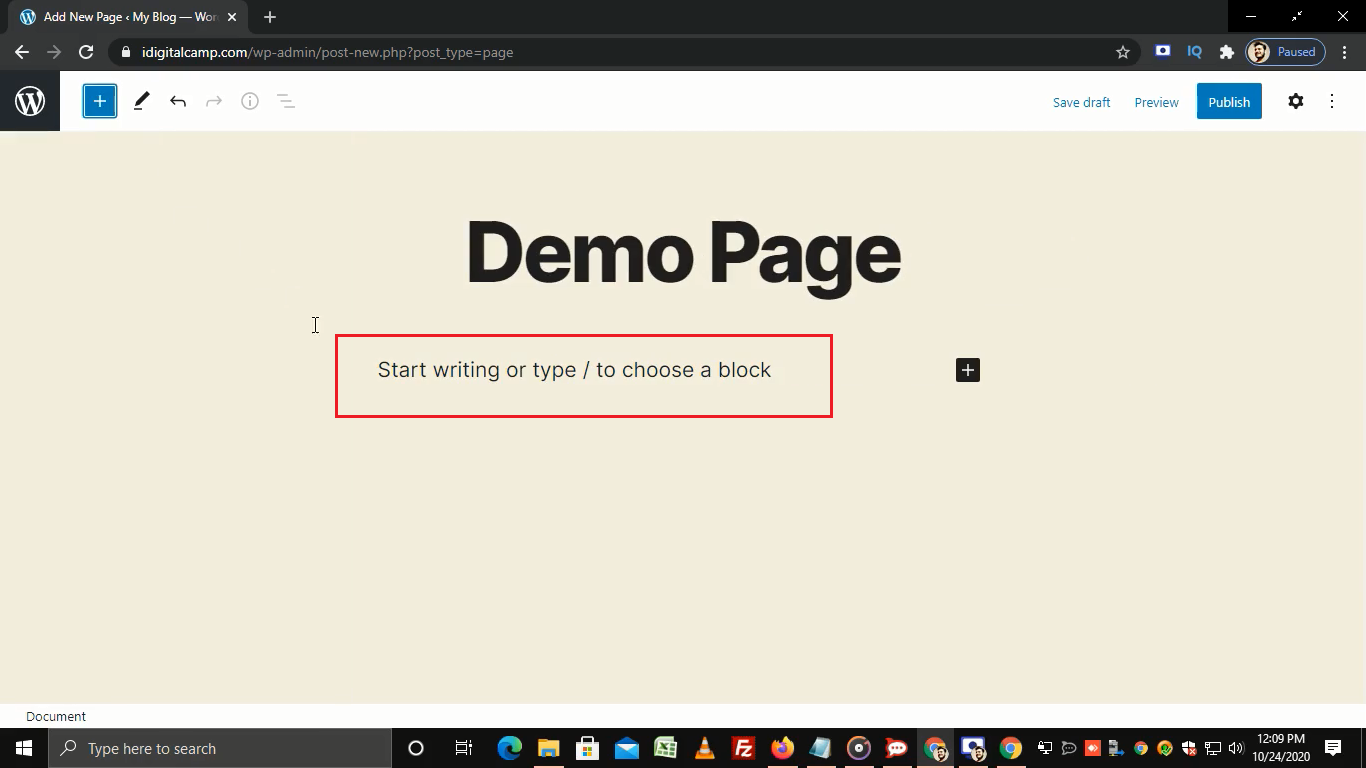
- Here, we’re simply adding a description in this section.
- Now, click on Publish.
- It will ask for confirmation.
- Below that, you get two options as Visibility and Publish.
- In that, the Visibility option defines the visibility of the page. By making it Public, everyone can see your newly created page.
- The private option restricts the visibility from other users and it will only be visible to the website admins and editors.
- A password-protected option secures your page with the password. The page is accessible only for those who are having a password.
- Publish option allows you to publish the page immediately or you can schedule your post by setting a date and time.
- Here, we’re setting the Visibility option as Public and Publish option as Immediately.
- Click on Publish.
- You will get a success message.
- If you want to view the page then click on the View Page button.
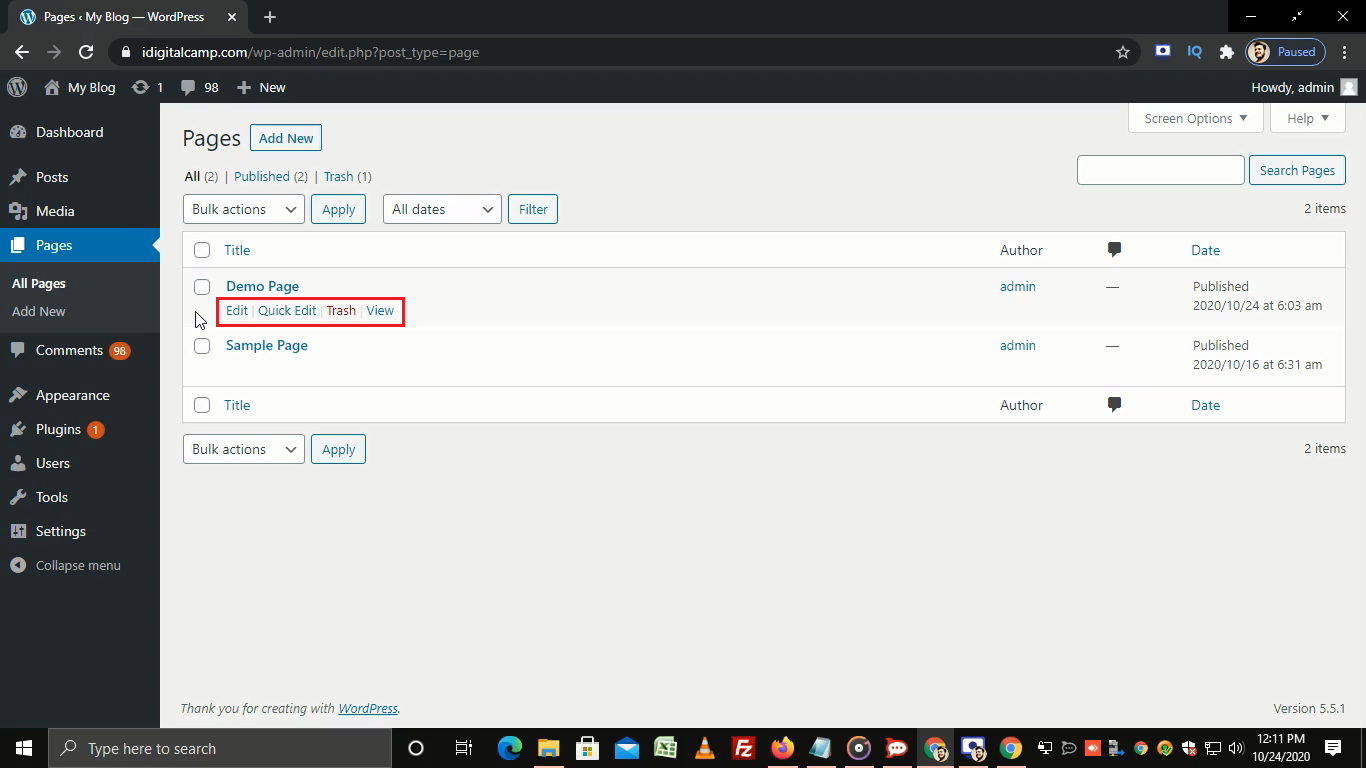
- Now, go back to the All Pages section.
- From here, you can edit, quick edit, delete or view your page.
That’s how you can manage pages in WordPress.


