Steps to add an Admin user to the WordPress database from phpMyAdmin:
- Log in to cPanel.
- Navigate to the Databases section and click on phpMyAdmin.
- Choose your database. It might be possible that you have multiple databases in your phpMyadmin.
So to find the appropriate database name just follow these steps:
- On the cPanel dashboard, click on File Manager.
- Go to the public_html folder and click on wp.
- On the right side, you will get files and folders in that, right-click on the wp-config.php file and click on the view option.
- In this section, you will see the database name.

- Now, go back to phpMyAdmin and click on the databasename_users table. In our case, the database table name is this.

- Click on Insert.
- Fill the required information in the mentioned fields.

- In the user_pass dropdown, select MD5.

- Click on Go.
- Click on the databasename_users table.
- As you can see the recently added record with ID. In the next step, we will use this id in the user_id field.
- Select the databasename_usermeta table and click on Insert.
- Enter the id of the user which we have created in the previous query.
- In the meta_key textbox, enter the databasename_capabilities. In our case, meta_key is this.

- In the meta_value textbox add this code: a:1:{s:13:”administrator”;s:1:”1″;}
- Again in this section, enter the user_id.
- In the meta_key textbox, enter the databasename_user_level. In our case, meta_key is this.

- In the meta_value textbox, enter the value as 10.
- Click on Go.
Now, follow the steps to check the newly added admin user in WordPress:
- Log in to WordPress with a newly created username and password.
- Click on Users.
- As you can see the newly created username with Administrator role.

That’s how you can add an admin user to the WordPress Database from phpMyAdmin.
Related items
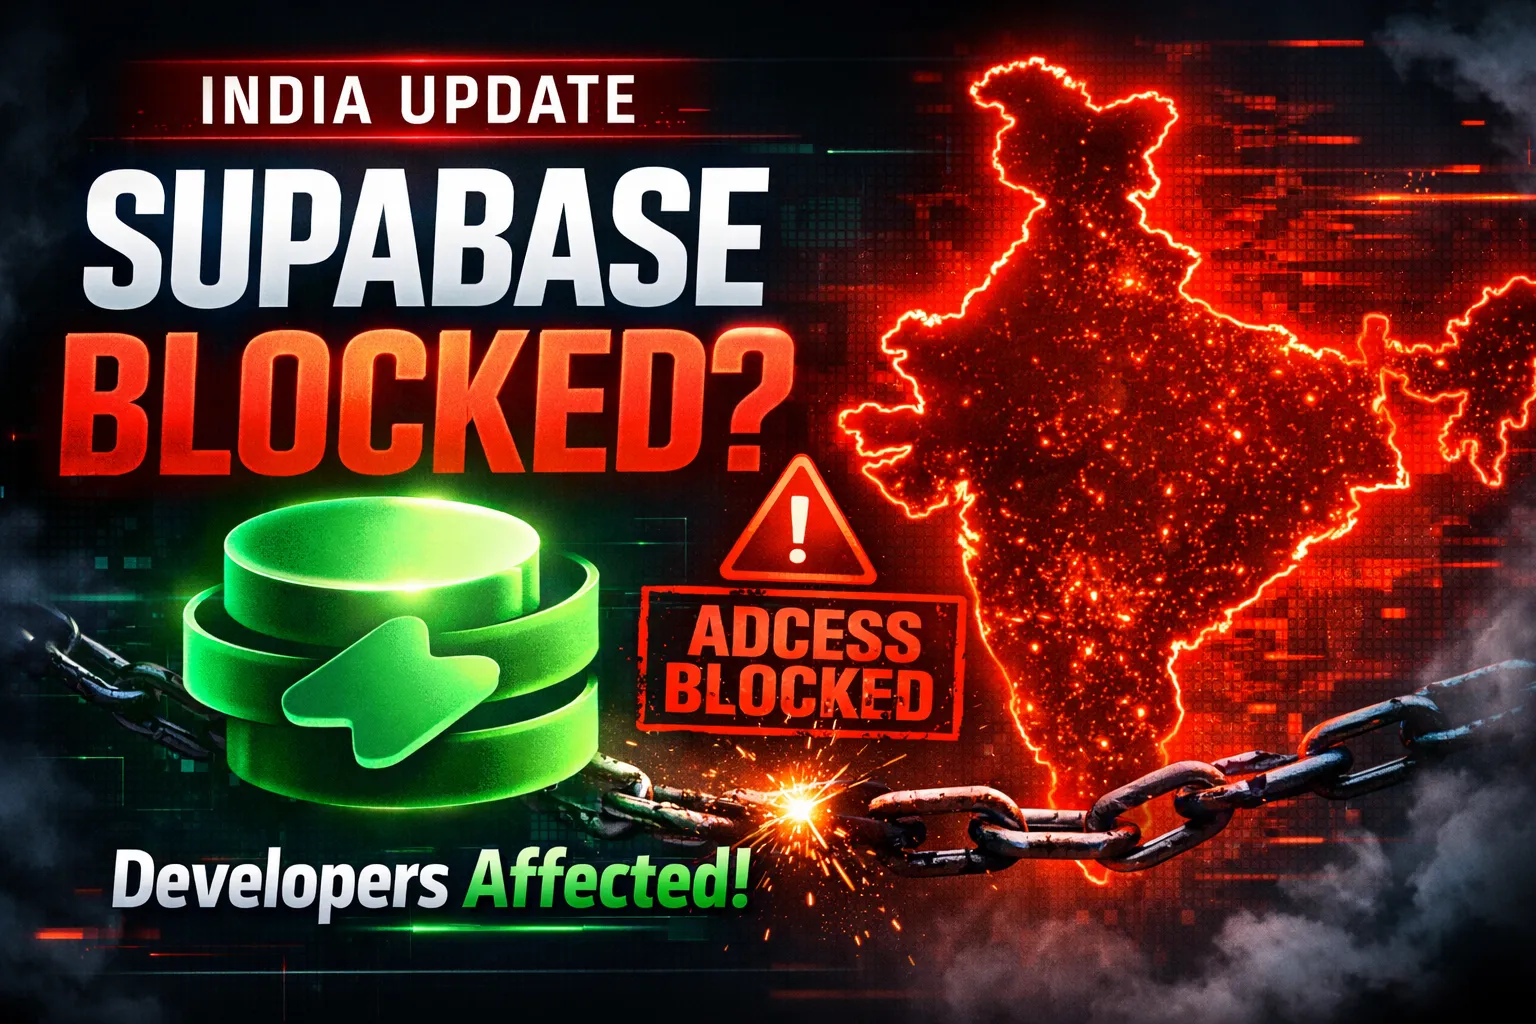
Developers across India are reporting serious Supabase access disruptions in India. Projec

The India U-19 vs Bangladesh U-19 cricket match is more than just a youth-level game. It r
Are You a Photographer Drowning in Paperwork? Here’s How to Fix It. If you’re a pho