This tutorial presents information about setting up caching for a WordPress website through a popular and efficient WordPress plugin.
Why should you enable caching for your WordPress website?
Caching speeds up your website’s loading time. This is done by using the user’s browser or device memory for saving elements of your web page so that when the page is accessed again, only the modified or dynamic content has to be downloaded. This reduces the amount of time required to load a web page to a great extent.
Which plugin can be used for browser caching?
You can choose from several caching plugins provided by WordPress. It is important to choose a plugin that is compatible with the WordPress version you have or the plugin that has good reviews by the users.
This tutorial explains the process of caching with the use of the W3 Total Cache plugin.
How to set up caching with the use of the W3 Total Cache plugin?
- Login to the WordPress admin account.

- Go to Plugins >> Add New

- Enter ‘caching’ in the search bar. This will display a list of caching plugins, if you want to select a different plugin from here, you can.

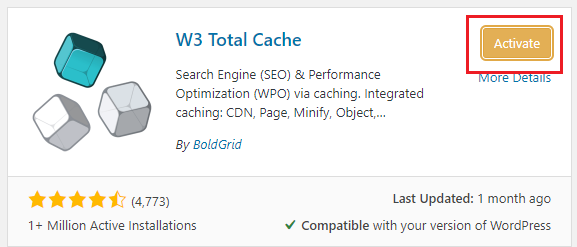
- Look for W3 Total Cache and click on Install Now.

- When the installation process is completed, click on ‘Activate’.
- When you activate the W3 Total Cache plugin, a new category – ‘Performance’ will be added to the left side menu of your dashboard.

- Go to General Settings in the Performance menu.

- In the General Settings, enable the ‘Preview Mode’ and click on – ‘Save all settings. With the preview mode, you will be able to see the effects that the W3 Total Cache plugin has on your website before making the settings live. This enables you to test the settings to make sure that they are working in sync with the website.

- Scroll down to the ‘Page Cache’ section, click on ‘Enable’ and then click on ‘Save Settings & Purge Cache’.

- Now scroll up to the General section and click on ‘Preview’ and check if your website is functioning as expected.

- If you think that your website is not functioning properly, then go to the ‘Page Cache’ section, uncheck the Enable option and click on ‘Save Settings & Purge Cache’. This will disable the page caching.
- If your website looks fine, then repeat the same process for the ‘Database Cache’ section and ‘browser Cache’ section.


- Note that you need to enable these settings one at a time. Click on ‘Save Changes & Purge Cache’ for both these options after checking the Enable box. Make sure to preview the changes before you move on to the next section.
- If any of the settings are affecting the functioning of your website, uncheck the enable box and click on ‘Save Settings & Purge Cache’.
- When you have configured all the caching options and you have checked the preview of the website and if your website is working fine, then click on ‘Save All Settings’.

Caching is now successfully set up on your WordPress website or blog and your website will load faster on any browser.
Related items
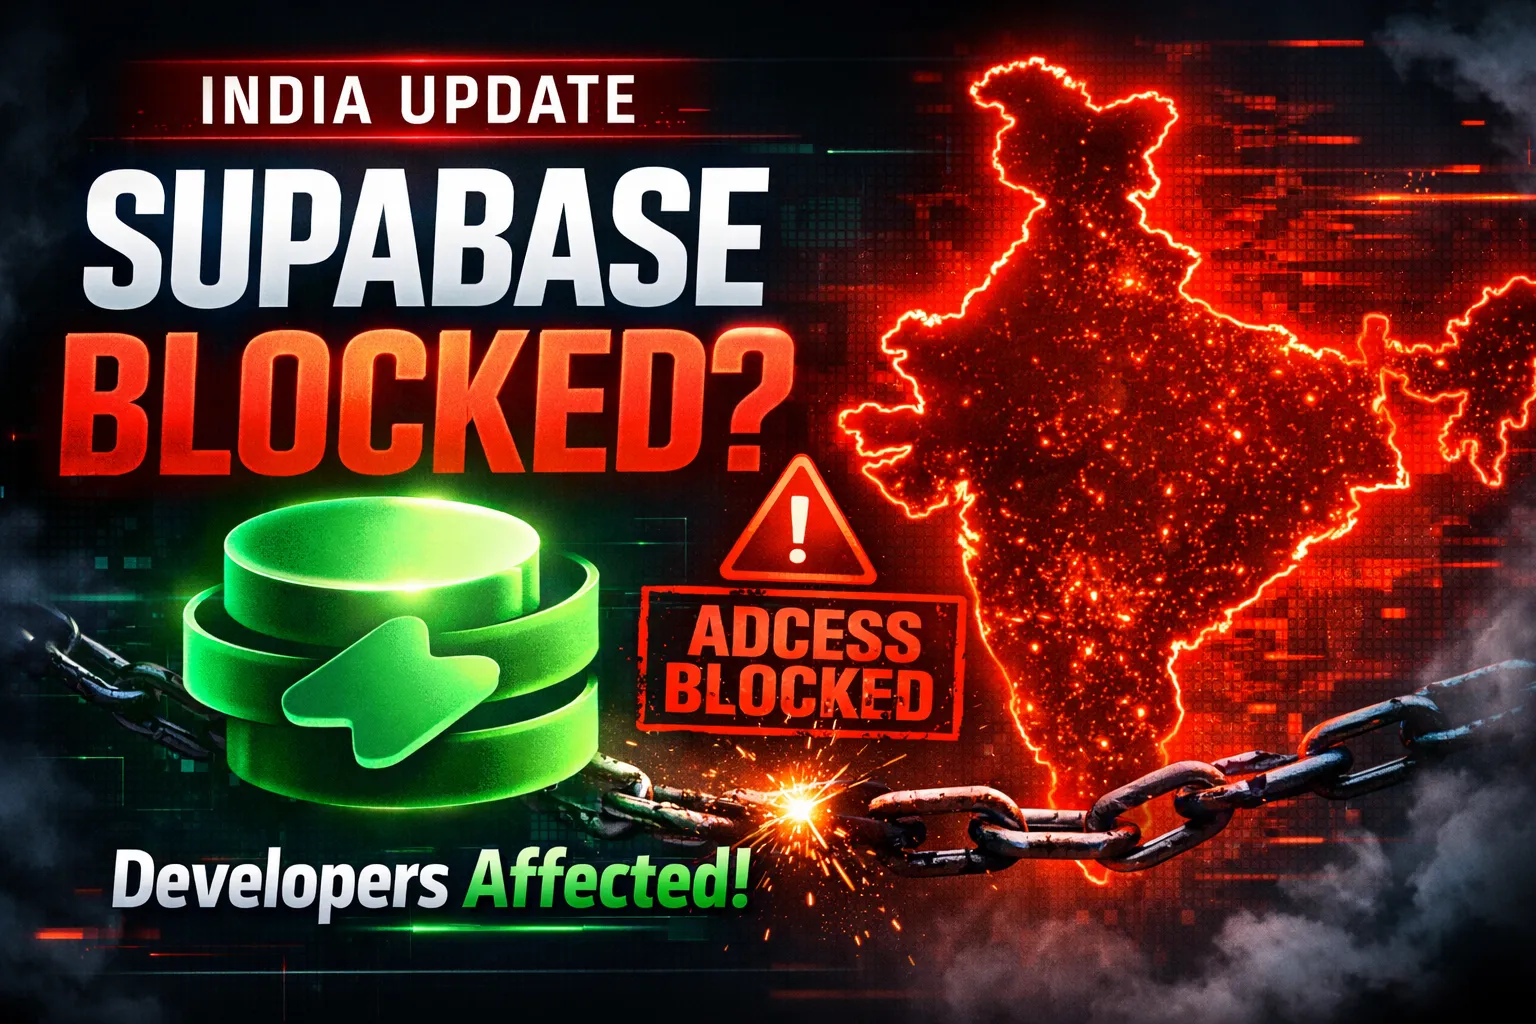
Developers across India are reporting serious Supabase access disruptions in India. Projec

The India U-19 vs Bangladesh U-19 cricket match is more than just a youth-level game. It r
Are You a Photographer Drowning in Paperwork? Here’s How to Fix It. If you’re a pho