In this article, you will learn to create a custom error page for a “404 Requested page not found” error. The main reason for creating a custom error page is to inform the visitor that the website has received the request but the requested page isn’t available.
Steps to Create a Custom WordPress 404 Error Page
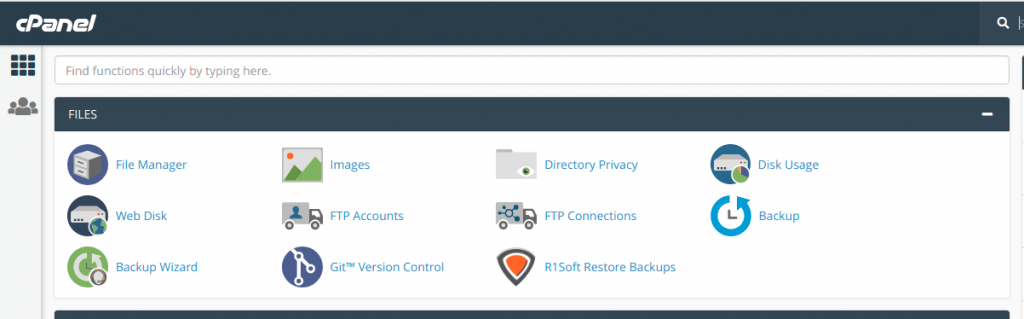
- At first, login to your cPanel Account and from the Files section, select File Manager.
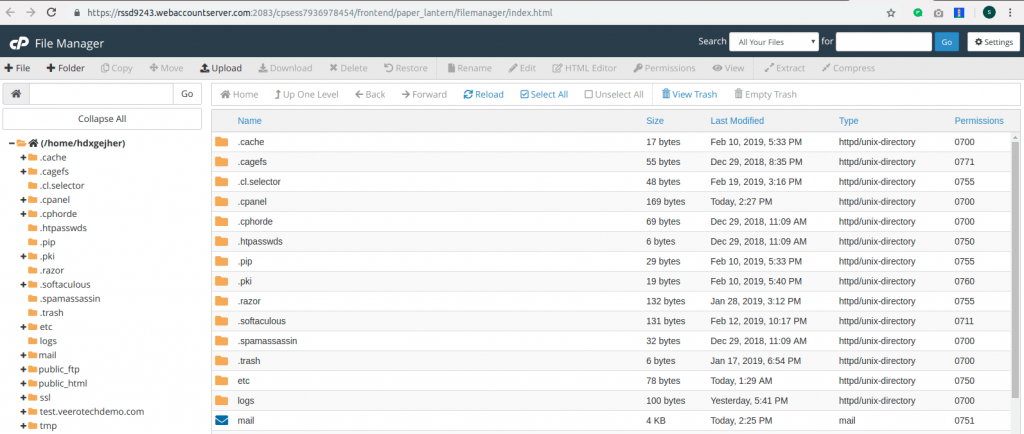
- In File Manager, go to the directory – public_html.
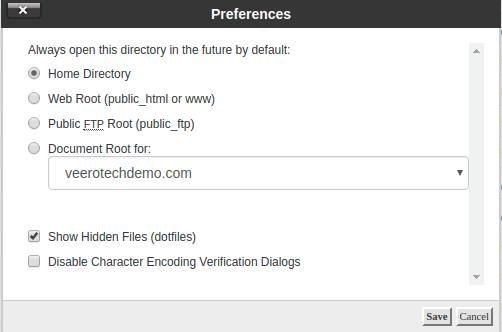
- On the top right corner, click the Settings icon and enable Show Hidden Files.
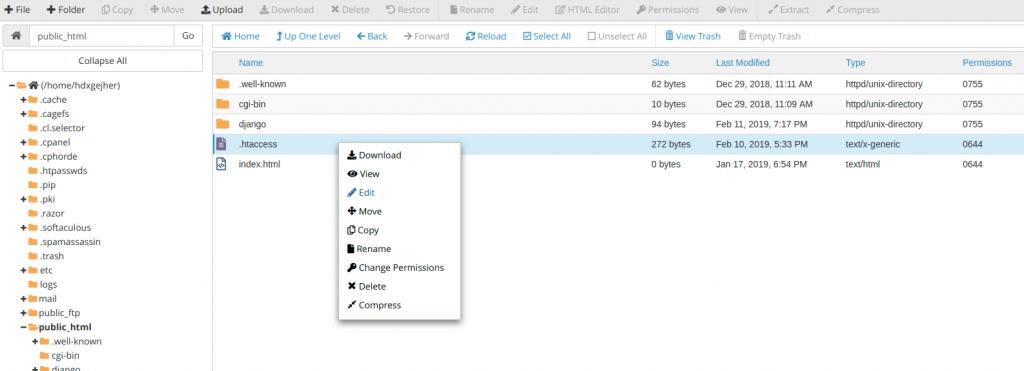
- Right click the .htaccess file and click Edit.
- You can create a new .htaccess file, if you can’t find one by clicking the +File icon on the top left corner.
- Then add ErrorDocument 404 “Page not found” to the .htaccess file.
Steps to Set Up the Error Handlers via the .htaccess File
- Login to your cPanel account and go to the “File Manager” under the Files section.
- You will be redirected to File Manager Tool. Now go to the “public_html” directory.
- At the top right side, click the Settings button, tick the Show hidden files option and save it.
- Then right click on the .htaccess file to edit it. If you don’t have one, create a new .htaccess file with the “+File” option on the left side of the window.
- You can simply add the line “ErrorDocument 404 “<H1>Page not found</H1>” to the .htaccess” file without quotes. The message can be edited as per your preference. In case you have written separate codes for 404 error then create a new file for that, inside the “public_html”. Then the code will be “ErrorDocument 404 /404.html”. In this code, the error handling file is named as 404.html.
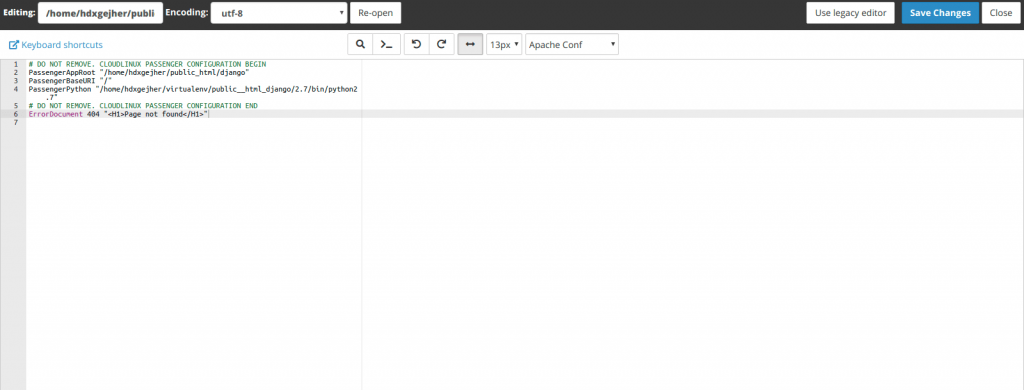
- Then click “Save Changes” to save. With this, your website is ready to handle the 404 errors.

To create a 404 error handling page is a good practice so that the visitors won’t see any strange errors on your website.
Related items
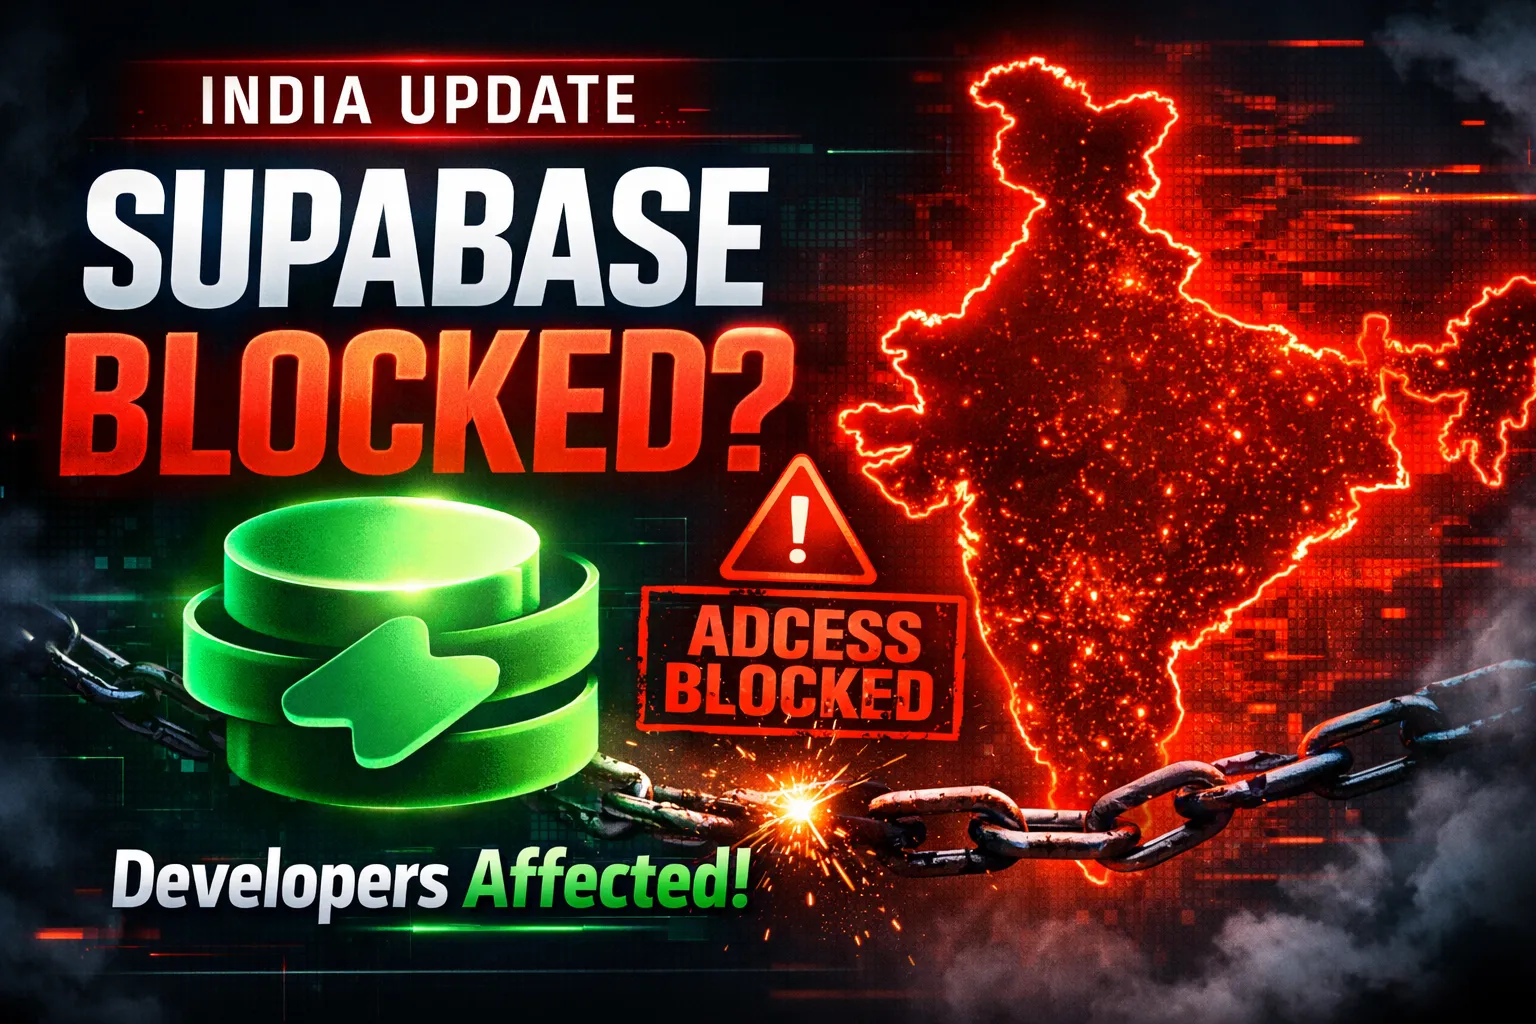
Developers across India are reporting serious Supabase access disruptions in India. Projec

The India U-19 vs Bangladesh U-19 cricket match is more than just a youth-level game. It r
Are You a Photographer Drowning in Paperwork? Here’s How to Fix It. If you’re a pho